
I made a few of these scarves as Christmas gifts last year- so simple!
Supplies:
~2 yards of material
sewing machine
thread to match material
scissors
pins
Head to the fabric store to choose your fabric.
Good news! You don’t need to be an experienced sewer for this project. If you fall into the unexperienced category, it’s probably safe to assume you don’t own a sewing machine (neither do I!) so just ask the owner of the one you’re borrowing for a quick 5 minute rundown.
I found it best to have a large flat space besides my sewing machine to work on. This piece of material is large!
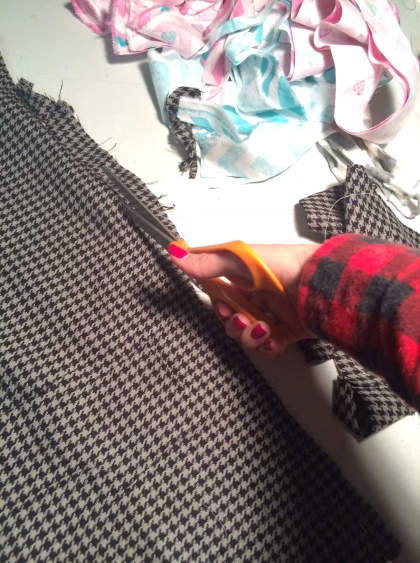
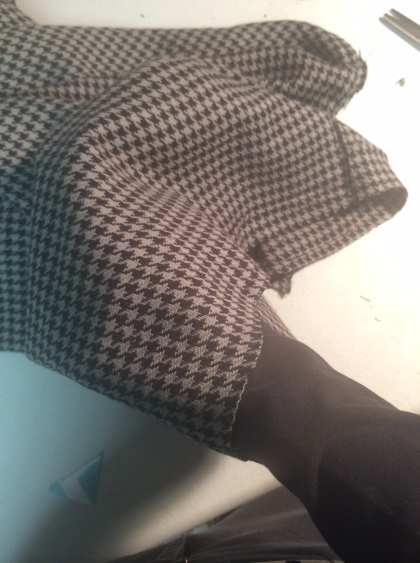
Fold this material in half the long way…the HOT DOG WAY….with the INSIDE of the material facing out. In these photos the folded end is on the left, and the open end is on the right. Most material from a fabric store is cut very unevenly, so the goal here is to line up your crooked ends so all sides are overlapping.
Trim excess fabric as straight as possible. This is easier to do with stripe/plaid patterns. If it’s not perfect- don’t sweat it! Scarves end up very wrinkly when worn and nobody except you will know 😉
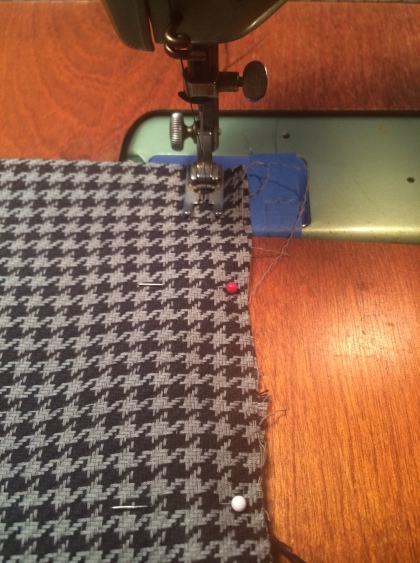
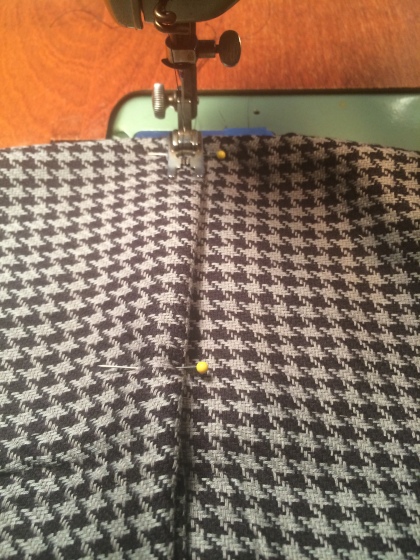
Next, you’ll want to pin these edges together along all three open sides as the photo below shows. The pins don’t need to be very close together.

Drop your needle on the sewing machine at the folded end. Run your needed a little bit backwards toward the folded side to close up that hole, then run toward in a straight line all the way until the first corner. I’m pretty sure experienced sewers sew right over the pin; I pulled each pin out right before the needle reached them.
When you get to the corner, you’ll need to turn the fabric. There is an easy way to do this without tangling the thread. 1) be sure your needle is DOWN in the material 2) lift up the “feet” of your sewing machine 3) turn your fabric 90 degrees 4) lower the feet. Continue sewing down the next edge.

When you get to the next corner, turn your fabric the same way as before. This time, though, do not sew all the way to the last corner. Leave yourself roughly enough room to stick your hand inside the open slot.
When you get to this point, you’ll cut the thread and remove the fabric from the machine.
Go ahead and trim up any edges or the sides that may be too far from your sewing line. Then trim the two sewed corners as shown below so they do not cause a bulge in the final product.


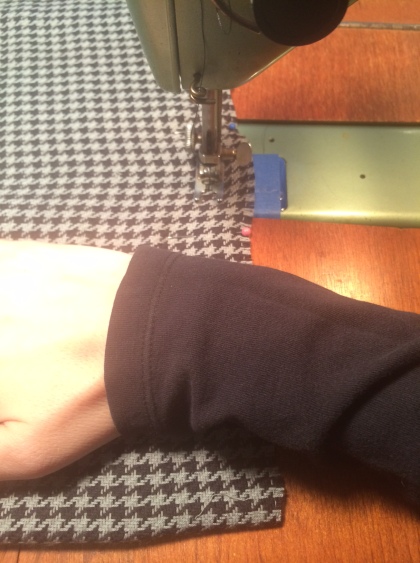
Stick your hand in the open space, and turn the entire scarf right side out. (There is no need to sew up the part you left open; it will close up in another step).
Next, you’ll need to lay the piece very flat so the short edges line up as shown below. You can begin to see the scarf take shape!
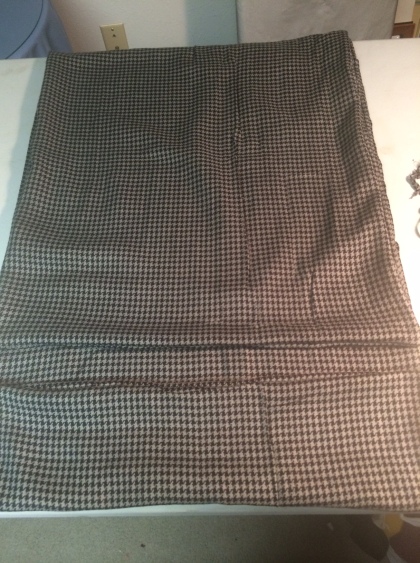
Overlap these edges and pin them together. I found it best to overlap quite a bit so it isn’t too “thick” along the seam. You can also overlap so your pattern meets up, if applicable.


Sew together. This section will definitely be thicker than the last; I found it best to slow down for a straighter edge. Again, scarves get very wrinkly so it doesn’t have to be perfect.
You’ll want to drop your needle slightly inside, then move backward over the edge (just like the beginning). Come back forward and sew all the way to the end, running over the edge.
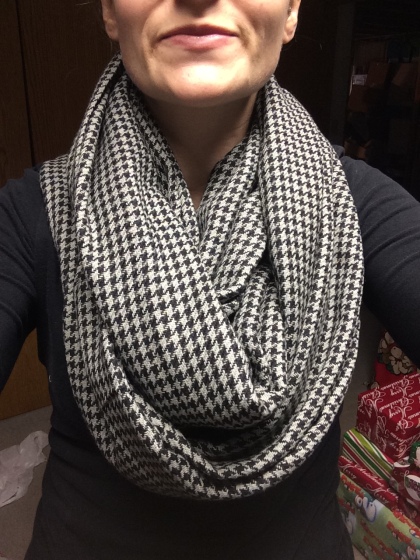
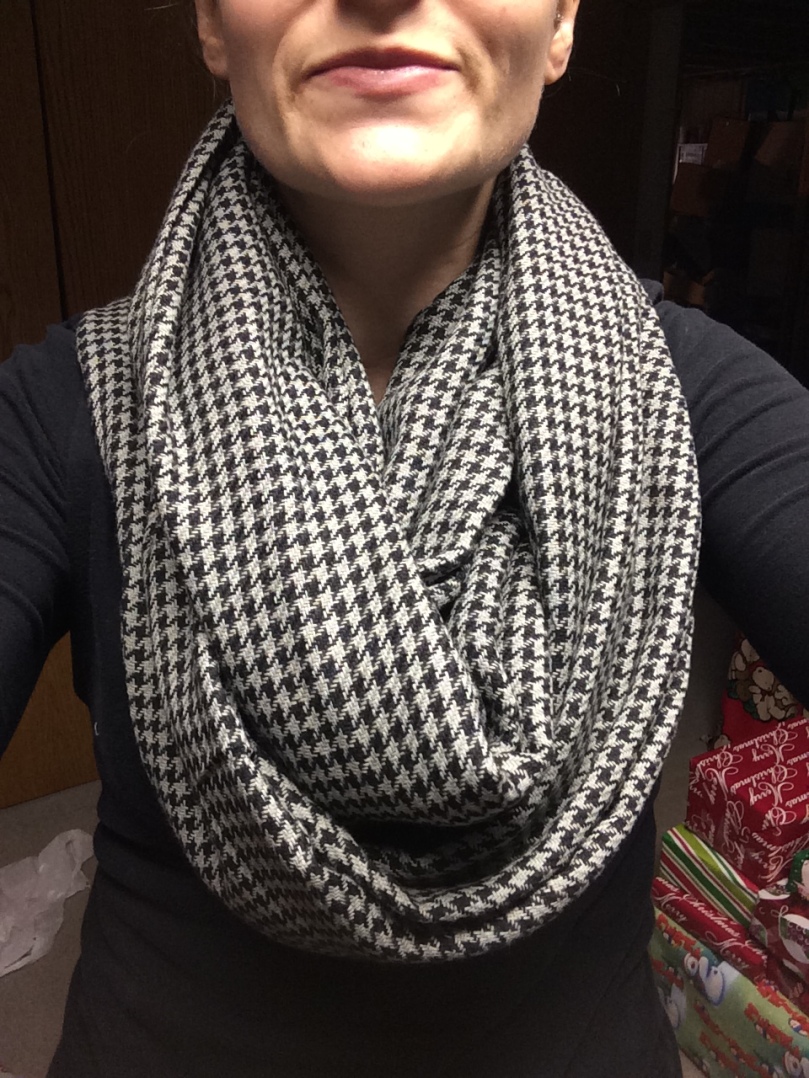
Lastly, try the scarf on, twisting one time.
Enjoy!
A quick variation I also tried was two different materials. The only difference is that you’ll only need 1 yard of each. At the very beginning you’ll sew these pieces together along one side (be sure to “stack” them and then sew so there is a clear inside & outside edge), unfold so you have one large piece. Start back up at the very beginning by folding the entire piece in half the “hot dog” way.
Below is the united project- completely unfolded on the left and how you would wear it in the right 🙂


Enjoy! Happy Scarfing!

