Memorial Day & Veteran’s Day: Know the Difference

There is a BIG difference between Memorial Day, observed on the last Monday in May, and Veteran’s Day, celebrated on November 11. 

USA_Grunge_Flag-1EXLG

Unfortunately, the two are often confused. If you find yourself in this unsure of the difference, it may not even be your fault given the way the two holidays are portrayed with stores & sales, and often the media. Both holidays do celebrate the military, but very different aspects of the military.

It is your responsibility as a citizen to know the difference.

Hopefully understanding each holiday will clarify why each should be observed differently. The distinction lies right in their titles, but let’s set the record straight.

USA_Grunge_Flag-1EXLG
Memorial Day is the holiday set aside to pay tribute to those who died serving in the military.

MemorialDay1

Not long after the Civil War ended, Memorial Day began “unofficially” being observed. The month of May was supposedly chosen because flowers would be in bloom all over the country. It wasn’t until 1971 Congress officially made it a holiday.

USA_Grunge_Flag-1EXLG

Veteran’s Day is designated to honor ALL who have served in the military…primarily intended to thank the living for their service.

Happy-Veterans-Day-2014-Pictures-Photos-Pics-Graphics

Veteran’s Day was originally titled “Armistice Day” to celebrate the end of World War I. It wasn’t until 1954 that legislation designated Veteran’s Day an official, federal holiday.

USA_Grunge_Flag-1EXLG{Just for a quick clarification: Labor Day, celebrated the first Monday of September, is not military related what-so-ever, but meant to honor every working American. Neither holiday is the same as Independence Day, celebrated July 4th, although the young fellow my friend encountered the other day didn’t seem to know that}

Now you know! Spread the word.

[sources: usa.gov, va.gov, military.com]

Mango Quinoa Side

This side dish is always a hit at BBQs & potlucks. Plus…it’s PRETTY!

Take a look at these tasty ingredients. How can it not be delicious?

photo 1-2

Make the quinoa as directed then toss it in the fridge while you prep the rest.

Optional Quinoa Cooking Tips for this Recipe
Quinoa Tip 1: Rinse the quinoa before cooking it; this will get rid of the grit
Quinoa Tip 2: Use half the liquid as chicken/veggie broth & half as water
Quinoa Tip 3: Cook the night before serving to ensure it is chilled for serving

photo 2-4

Beans: Rinse & Drain
Mango: Watch this youtube video of how to slice & dice a mango
Cilantro: I go way overboard; it’s one of my favorites
Red Pepper
: Chop away!
Red Onion: No Crying Allowed

photo 3-3

Combine above ingredients in bowl and stir with a spoon.

Sauce: Olive Oil & Lemon Juice
In a side dish, whisk together these ingredients until they become a little thick. Pour over quinoa mixture and fold in before the oil and juice have time to separate.

photo 4-3

Cover & Refrigerate for at least a half hour before serving in order to lock in flavor.

photo 5

Full Recipe

Ingredients 
2c cooked quinoa (about 1/2 uncooked)
1 14oz can black beans
1 mango (or 2 if you really like mangos) sliced & diced
1 red pepper chopped
1/4 red onion chopped
4 tbsp cilantro chopped
2-3 tbsp olive oil
2-4 tbsp lemon juice

Directions
Cook Quinoa as directed. Refridgerate.
Combine cooled quinoa, rinsed black beans, mango, red pepper, red onion, cilantro and mix together in large bowl.
In side dish, whisk olive oil & lemon juice until somewhat thick. Immediately pour over quinoa mix before it separates; fold into mix.
Cover & refrigerate for 1/2 hour before serving to lock in flavor

signature -blue

shakeO + pregO….do these two mix?!

{Disclaimer: Every pregnancy is different. Consult your healthcare professional before consuming…well, anything.}

Processed with Moldiv

Short answer: Yes! You better believe I am pumping the absolute BEST into my body as it’s busy building a tiny human!

Let’s back up a second, though. What exactly IS Shakeology?
Straight from the creator himself, “Shakeology is a supplement that contains some of the greatest nutrient dense super foods in the world. It is carefully formulated to give life enhancing potential for healthier mind & body as and stronger performing life.” -Darin Olien

BOOM!
All natural; zero artificial anything.
No, it’s not a protein shake.
Nope, no weird weight loss chemicals either.

What is Shakeology

Of course, when I found out I was pregnant, I asked a friend for a recommendation of a regular prenatal pill. She gave me the rest of a bottle she no longer needed & I stopped drinking Shakeology.

That lasted about a week.

I can’t say I had anything against that particular pill, but my body could totally tell I was fueling it differently (of course, some of the “symptoms” could be pregnancy related- I won’t deny that).

I decided to actually compare the labels and was amazed at what Shakeology had to offer! I couldn’t wait for my first appointment to see what the pros had to say.

Here’s an unbiased opinion if I’ve ever heard one….
My healthcare professional was BLOWN AWAY when I showed her the bag of Shakeology. No, she didn’t ask me for a sample, but said that Shakeology on it’s own is basically a prenatal and that it has so much great stuff in it. She actually recommended I continue to drink it! (Note: she did add an additional dose of over the counter folic acid.)

shakeo post

There you have it!
Shakeology replaces my prenatal.
Shakeology provides me with (much needed!) energy.
Shakeology helps with my digestion.
Shakeology cuts my cravings for other junk food (that my baby definitely doesn’t need!).

photo-8{I realize this is slightly creepy; just making a point!}

Soooo, yup! I’m pregnant & drinking Shakeology.
Personally, I think everybody should drink it…especially if you’re pregnant 😉

Feed your body what it deserves.
signature -blue

Pancakes? Or Crepes? Or…? YOU decide!

What are you having for breakfast?

YUM! I stumbled across this deliciousness this past week & gave it a shot. They were categorized as “pancakes”…

Were they delicious? YES.
Did they look like pancakes? YES.
Did they taste like pancakes? Um….sorta??

Most importantly {see #1}….they were delicious!

Just so you know what you’re getting yourself into, these mysterious pancake looking breakfast items LOOK like pancakes but are kinda missing the whole bread thing…. Honestly, I’d say they tasted like fluffy crepes…sweetness and all!

Why don’t YOU decide?!

Start with a banana, two eggs, 1/2 c old fashioned oats, 1/2 c unsweetened applesauce (21 day fixers can use half an apple instead of applesauce).

photo 1-2
Toss all that deliciousness in a blender and….well, blend!

photo 3-2

Pour a small amount of “batter” on flat griddle. Cook until small bubbles appear on top (see bottom two cakes), then flip. Cook on reverse side until golden brown (see top two cakes).

photo 2-2

Serve up & enjoy! The fruit makes them sweet enough no syrup is really needed. Of course, it’s your call.

Then let me know….pancakes? or Crepes?

Recipe: Pancake Crepes (makes 6)
Ingredients:
1  banana
2 eggs
1/2 c old fashioned oats
1/2c unsweetened applesauce (or half apple for 21 Day Fixers)

Directions:
Blend all ingredients.
Pour small amount on griddle; cooke until small bubbles appear.
Flip. Cook on reverse side until golden brown.

Chicken Avocado Rollups

Need a quick dinner on the go? Not sure what to make for lunch?

Check out these tasty ingredients & pocket this one for later!

photo 2

We typically bake or grill an entire package of chicken at the beginning of the week so it’s there at our disposal when we need it. Usually a third of it is seasoned with salt & pepper, another third of it with Mrs. Dash Italian Blend, and the last third with whatever spices my husband feels like blended together….he’s big on his spices.

If I know I’ll be making this dish at some point during the week, I shred two of the chicken breasts with a fork while it’s still hot. The plain old salt & pepper chicken comes in handy for this recipe!

photo 3

To reheat the chicken, simply heat 1/2 tbsp of olive oil a frying pan over medium-low heat. Add the shredded chicken and cook (covered) for 3-4 minutes. Drizzle mustard (dijon OR regular) on top of chicken then cover for a few more minutes. If chicken appears to be drying up, add a little bit of chicken broth or water to the pan.

While the chicken is heating, chop the cilantro!

photo

Once the chicken is done, mix chicken, avocado, cilantro, & cheese (feel free to slip in a little spinach, too!).

photo 4

Spread a small amount of plain greek yogurt on each tortilla, and evenly disperse the mix on each tortilla. Roll the tortilla. It works best if you tuck the sides up first, then roll the rest. I always add a tiny bit of yogurt to “glue” the last flap.

Heat 1/2 tablespoon oil on flat griddle, then cook until golden brown (usually no more than 1 1/2 minutes on each side). It works best to cook the side with the “flap” down first in order to ensure it stays closed.

photo 2 burritos

Serve warm (or save for lunch tomorrow!).

Full Recipe: makes 4 servings (or 1 serving for a really hungry husband)

Ingredients:
4 spinach tortillas
2 chicken breasts
1 tbsp mustard (or dijon mustard)
1 avocado
1/4c chopped cilantro
1c shredded mozzarella
1c spinach (optional)
1 tbsp olive oil
~5 tbsp plain greek yogurt

Directions:
1. Heat 1/2 tbsp olive oil in frying pan over medium-low heat, add cooked chicken and cover for 3-4 minutes. Drizzle mustard on top of chicken and stir, cover for another 3-4 minutes. (Add small amount chicken broth or water if chicken seem to be drying out).
2. Mix chicken, avocado, cilantro, cheese, & spinach (optional) in dish.
3. Spread ~1 tbsp plain greek yogurt on the center of each tortilla. Evenly disperse the mix on each tortilla. Roll tortilla; tuck sides in first then roll twice.
4. Heat 1/2 tbsp olive oil on medium on flat griddle. Add rollups and cook until golden brown; flip rollup to brown other side. This is usually no more than 1 1/2 minutes on each side.
5. Serve warm & enjoy!

signature

Monkey Fist Nautical Curtain Rod- DIY

While choosing themes for the bedrooms, we decided that perhaps a nautical theme for our own room might be a little cliche. We did, however, decde this would be an incredibly appropriate theme for our guest room for our visitors who are coming to stay just a mile and a half from the sea. Right?!

I found these curtain rods at Pottery Barn, but wasn’t about to pay $90.00 for them….so naturally to etsy I went. I LOVE etsy…for two reasons.
1) Yay small businesses! You have my support any day.
2) Most of the time it inspires me to get crafty myself.

Much to my dismay, the price of this curtain rod on etsy was even higher than Pottery Barn! WHAT?! Aw man….$142.00.

 Screen Shot 2015-02-18 at 1.39.13 PM   Screen Shot 2015-02-18 at 1.35.21 PM

Decision made. I’m doing this on my own.

I trotted off to Michaels and bought 15′ of rope for $5.99….which is probably way more expensive than if I just had my husband go to a marina and buy it in bulk; oh well. Here’s the brand I bought; I ended up using about 1/2 the roll for one side:

Screen Shot 2015-02-18 at 1.42.11 PM

Luckily, the old homeowners left these pretty ugly curtain rods for us. Since I was covering up the ball on the end (and gold is totally fine in a nautical room) I spent a whole $0.00 on the rod. Feel free to shop for these on your own at a Ross/TJMaxx/Marshalls/Home Goods kinda store…it doesn’t really matter what they look like since you’ll be covering up the ends, anyway.

These two supplies (plus a knife to cut the rope) are all you need!

photo 1-5

The first thing you need to do is teach yourself to tie a Monkey Fist. I’d recommend going to youtube and just watching a quick 4 minute video on how to do so. For those who are too anxious and just want to keep going, here are the instructions and process as I tied my knot:

Monkey Fist -large

1. wrap 3x loosely around fingers
2. turn 90*; wrap 3x outside #1
3. Turn 45*; wrap 3x outside #1 & inside #2
*Note: You can choose to wrap 4 or 5 times (instead of 3) as the Pottery Barn & etsy rods show above.

Be sure to leave the knot to be plenty loose as the curtain rod still needs to fit inside.

photo 4

Pick a loose spot for the rod, and carefully wedge the ball in there. Keep in mind you can always rotate the knob so the perfect side faces the outside of the room.

photo 5

Begin to tighten knot. Once you’re close to being finished, pull the edge of the top underneath the nearest “underpass” …simply cut and tuck inside.

Add your curtain, and hang! The finished product isn’t so bad (especially when you consider the money saved)! TADA!

photo 1-6 photo 2-6

Have fun and keep me posted on your own projects!

signature

Cauliflower Faux Mashed Potatoes

My mom makes uh-mazing mashed potatoes! Seriously. They’re the best ever. I commented on how much I like them this past Thanksgiving, and she told me I wouldn’t want to know what’s in them…

Errrr! Back up a second. I’m all about cheat meals and celebrating holidays, but on a day-to-day basis, I really don’t need the extra starch and calories…especially in the evening (when I’m most likely to eat mashed potatoes).

Therefore, I give you…Cauliflower Faux Mashed Potatoes!

photo-2

Do they taste like mom’s? Well. Not exactly. But I do love the texture & enjoy the taste in general! Just know they’re not quite the same.

I’ve made these a few different times now; here is the best outcome.

Start by chopping a head of cauliflower. Never done this before?! Me either. Apparently (according to youtube) it’s best to start from the back/bottom by slicing off the bigger chunks then working your way to the smaller ones. I chose to use two different sized knives to accomplish this task.

photo 1-2 photo 2

Next, chop the cauliflower into small pieces. And place in tupperwear. This is one thing I did differently this time and enjoyed: I added olive oil, a little bit of pepper, and a little bit of garlic then shook to flavor cauliflower. Feel free to use any seasonings you’d like….I’m not much of a seasoning guru (unlike my better half).

photo 1-3 photo 2-2

Toss seasoned cauliflower into steamer basket and steam for 12 minutes once water is boiling.

photo-3

Once steamed, throw cauliflower into blender with veggie or chicken stock and minced garlic. I personally don’t mind the garlic from a jar; it definitely adds moisture to the mix. Feel free to go the real route if you’d like.

The blending isn’t as simple as making a quick smoothie. It’s important to stop periodically to let the steam out of the top as well as use a spoon to push cauliflower off the walls and into blender. Blend to your desired consistency.

photo 1-4 photo 2-3 photo 3

The cauliflower does cool after all the blending and typically needs to be reheated. Feel free to heat in the microwave or stovetop. Sprinkle with chives for presentation.

photo-4

Enjoy!

Full Recipe: Makes two servings
1 head of cauliflower
1 tsp olive oil
dash of pepper & garlic powder (or seasoning of your choice)
3 tablespoons of veggie/chicken stock (add as needed to create perfect texture)
1 tbs minced garlic
chives

Chop cauliflower. Shake chopped cauliflower with olive oil and spices in closed tupperwear container. Steam cauliflower for 12 minutes.
Blender cauliflower, veggie/chicken stock, and garlic. Periodically stop blender to let out steam and push cauliflower from walls back down into blender.
Reheat cauliflower. Add chives for presentation.

How it all began!

Hello, World!

I’m here to share my journey with you as I work to be the best version of me I can be, but ohmygoodness where do I even start?!

I graduated from the University of Wisconsin in spring of 2011 with a degree in Human Development & Family Studies and a minor in Criminal Justice. The plan was to be a School Counselor and the secondary level, but unfortunately, grad school was not in the plan as I was a little burnt out.

249160_10100121996140818_6380967_n{Graduation Day 2011: University of Wisconsin}

Fortunately, I was offered the BEST job I could ever ask for at Noah’s Ark Waterpark (yup..you know…the largest water park in America); the same place I spent my summers in college. This time around, things would be different as I’d work year round, full time and be the right-hand-lady to the Director(s) of Operations…two people I looked up to more than anybody in the world. I thought I’d be there forever!

64077_453976683024_4942912_n
{no, I didn’t always dress like this; that was me being goofy after close one evening}

The first year went well! I instructed, trained, & certified all 250 lifeguards and went on to supervise them and 11 other seasonal managers. This was my sweet spot. The off-season was relaxed, but managing this group of people to be sure things ran efficiently was my forte…not to mention it’s what I enjoyed the most.

I even was promoted in June to Operations Manager (which included a nice raise). I thrived in this crazy environment, loved the stress in a really weird way, and can honestly admit I didn’t hate the 16 hour days and often cramming 80 hour work weeks into 5 days (and of course coming in on days off when needed). And, duh. I got a sweet farmer’s tan!

Winter of 2012-2013 had plans of their own when my boyfriend proposed, we got married, then moved for Southern California for his job! So much for that forever gig… (and the cold winters)!

523529_10101139581701198_1238651373_n{my husband & me a few days after our engagement}

We love our life here! It turned out to be an incredible blessing that just took a while to get started for me. I was unemployed, didn’t have any friends, and was planning a wedding from 2,000 miles away (we were legally marred at this time; but were still throwing the party for our family and friends that last winter). I was a little lost, lacked routine, and sometimes lonely.

(At least I got to do this all just a few miles from the beach. Right?)

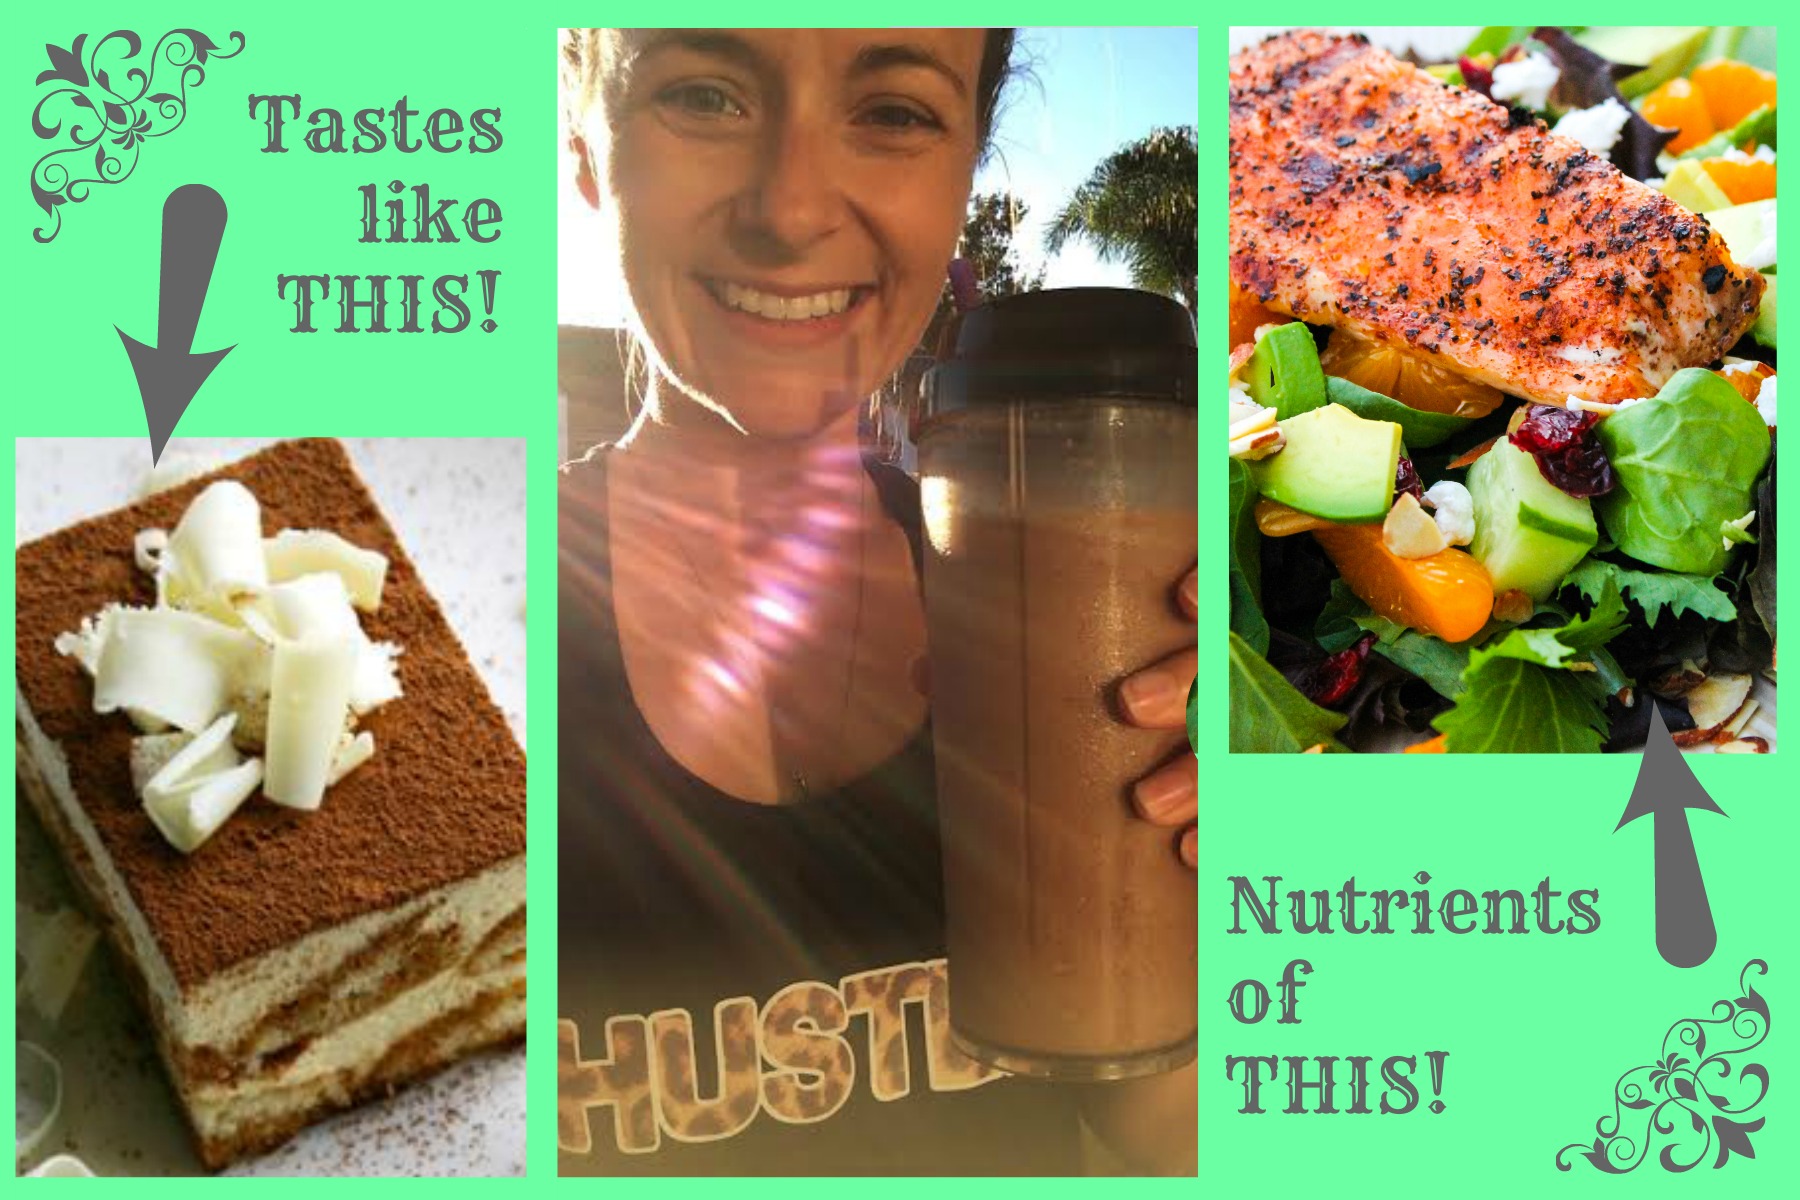
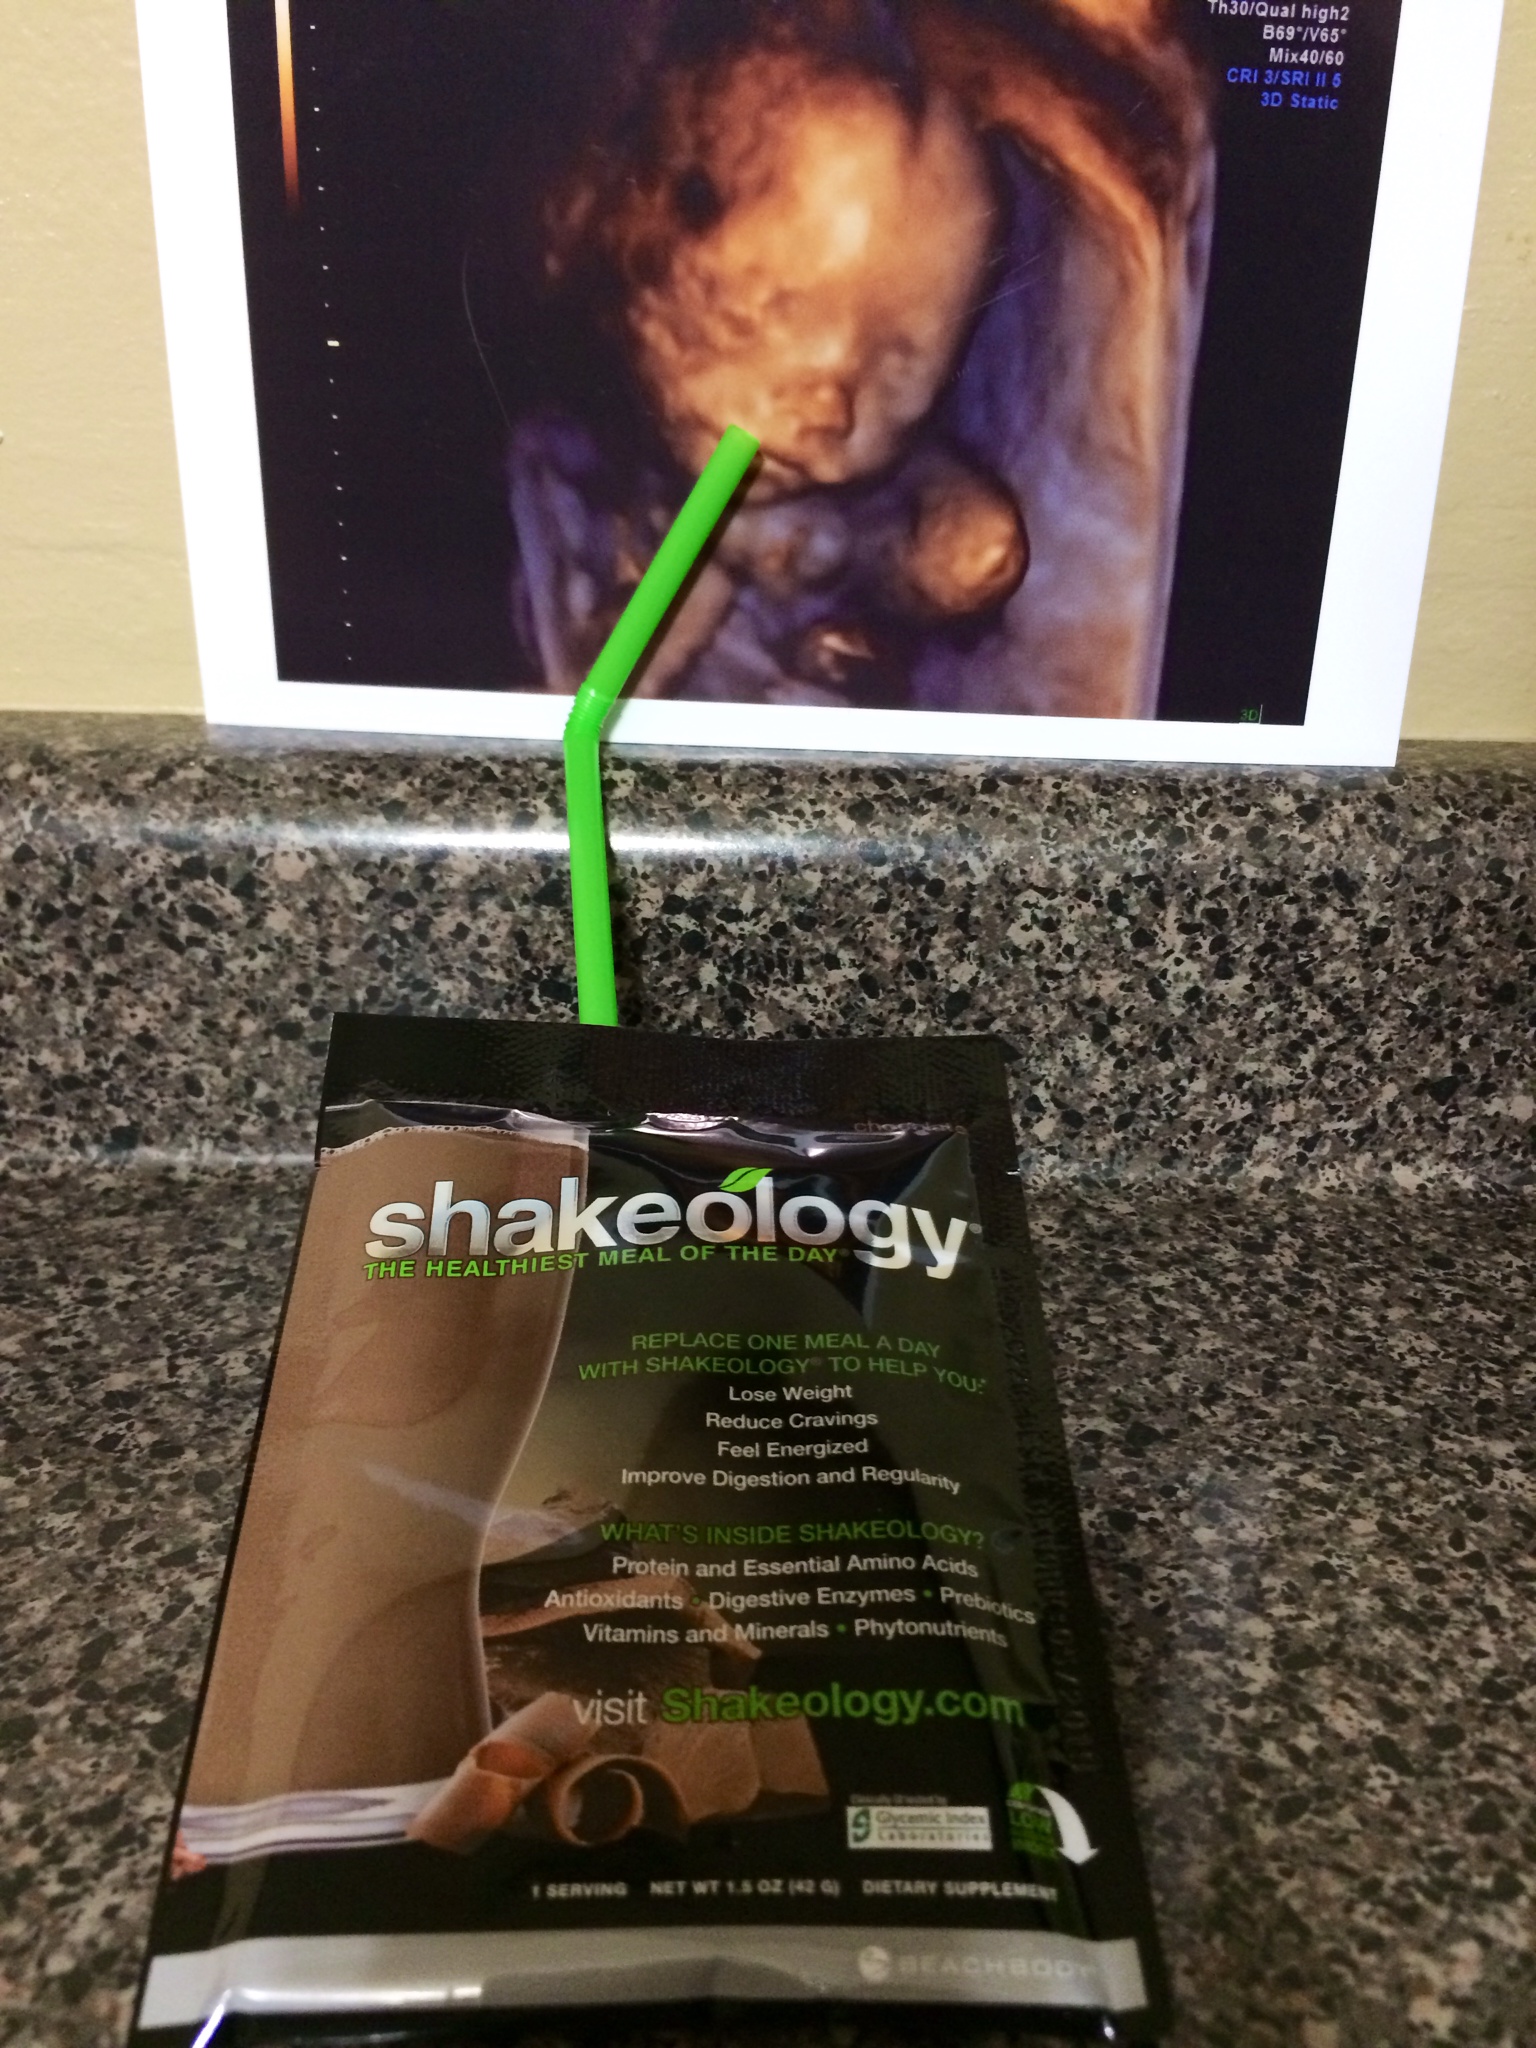
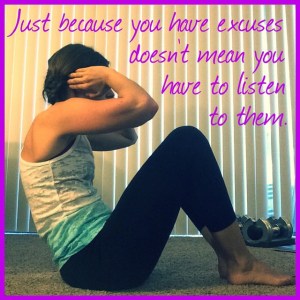
I decided it was time to grab the reigns in one area of my life I could control: my fitness. Through what I know was complete divine intervention, I met a nice blonde at a cafe, signed-up to participate in her fitness accountability group that was 60 days long, and I’ve never looked back. My results were amazing! I lost that college flub, 11 inches overall, dropped roughly 8% body fat, and my wedding dress practically fell down for my autumn fitting, even though it was extremely tight when I bought it in the spring. If ONLY I’d listened to her and actually snapped before & after photos to share with you. Needless to say, I stayed in close touch with that community.

I started working as an Office Manager for a non-profit organization. My co-workers were wonderful & I loved being around the kids. I took care of the business in the office for the organization, which is important, but I found I missed managing the employees I had before. After all, that’s what I was good at and enjoyed most. I wanted another outlet, and to provide more, financially, for our family. About 8 months into my stint there, I felt as though I wasn’t being fully challenged not to mention I wasn’t paid nearly what I had been since college (and that doesn’t even include the Midwest-to-SoCal cost of living difference).

Remember that community I stayed in close contact with? Well, I decided it was my turn to facilitate & guide others on their journey  the same way the “Cafe Girl” did for me.  I jumped on her team and have never looked back! It was like having a second job, but better. I made my own hours, worked when I could, and got out of it what I put into it.

I knew it would be financially rewarding, but I had NO idea it would SO internally gratifying. In no capacity did I realize the impact my challengers would have on me. I never would have guessed I’d be leading a team of successful entrepreneurs. I couldn’t have ever imagined the empowering community and the solid friendships I’ve built because of this business. Six months after jumping on board, my husband and I decided it was time for me to walk away from my full-time job and invest in all my time in this business. I’ve never looked back.

sit up

The freedom this opportunity is creating is exhilarating! I am now able to stay home with our future family, while still contributing financially to this household. I make my own hours, can travel when I’d like to, and entertain guests on their schedule, not mine.

Remember how the best thing about the “best” job I would ever have was the whole “managing people” part? That has transpired into a “leading people” on this TEAM and I couldn’t ask for anything more.

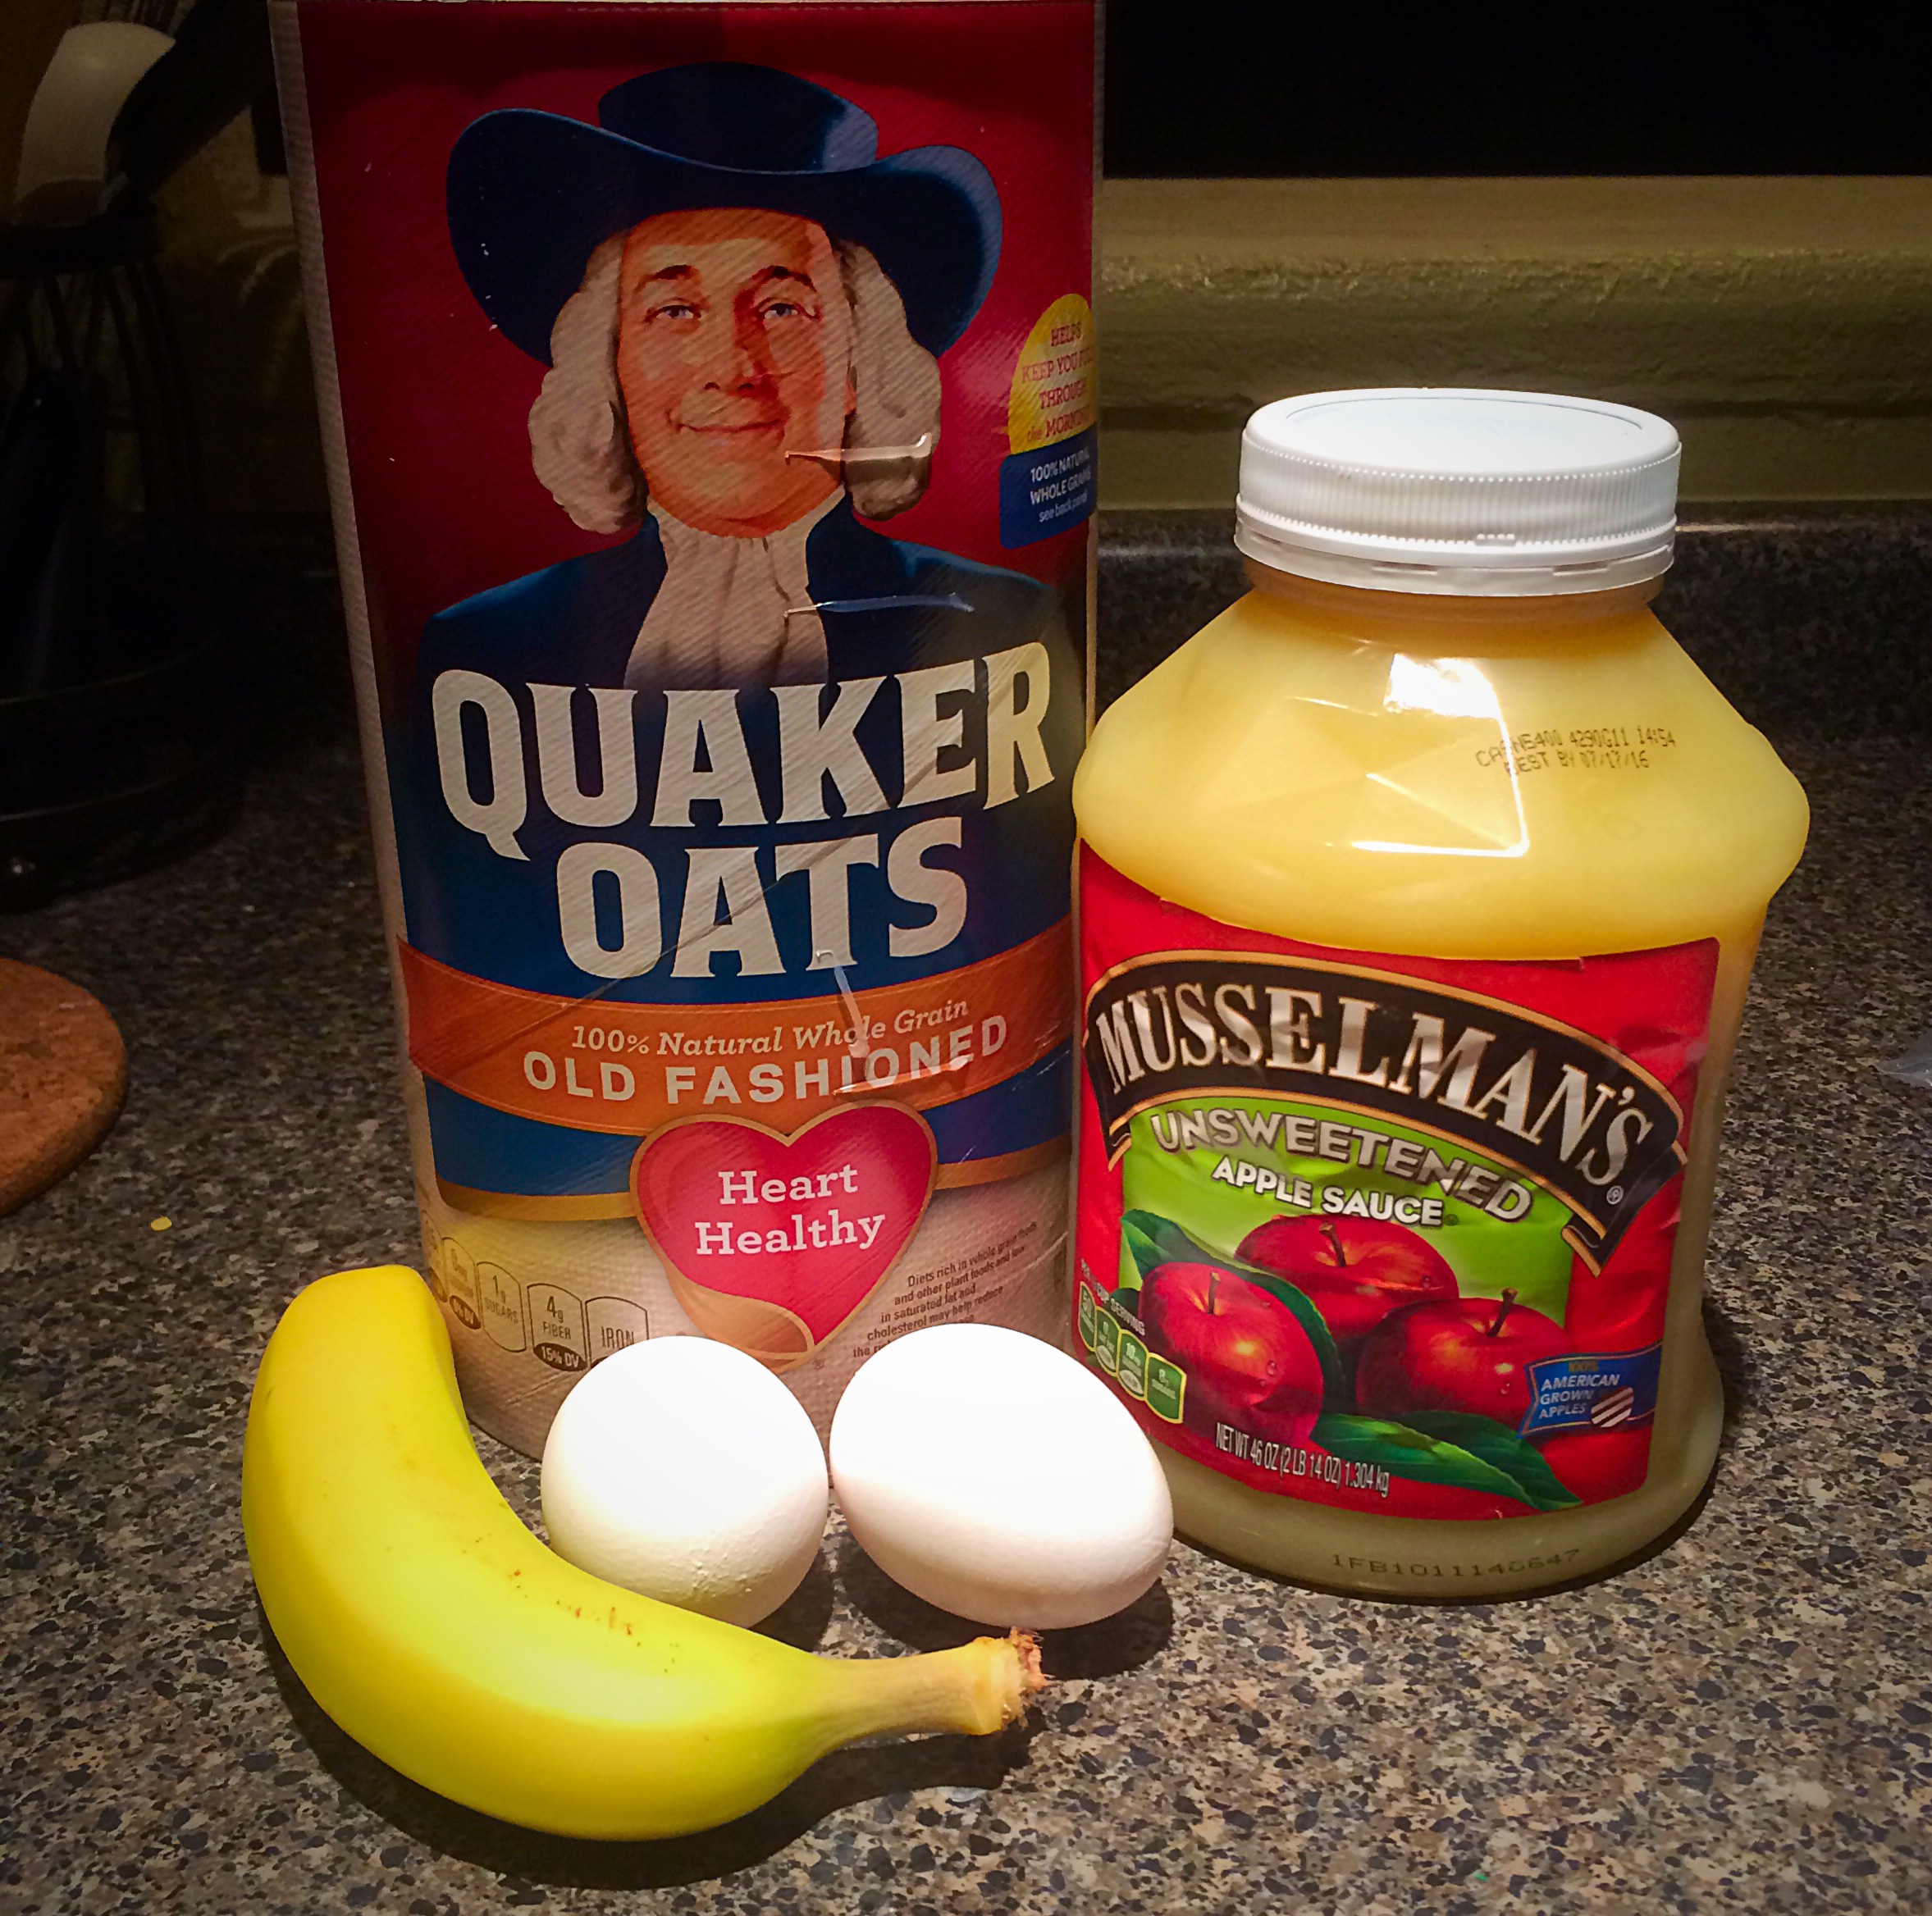
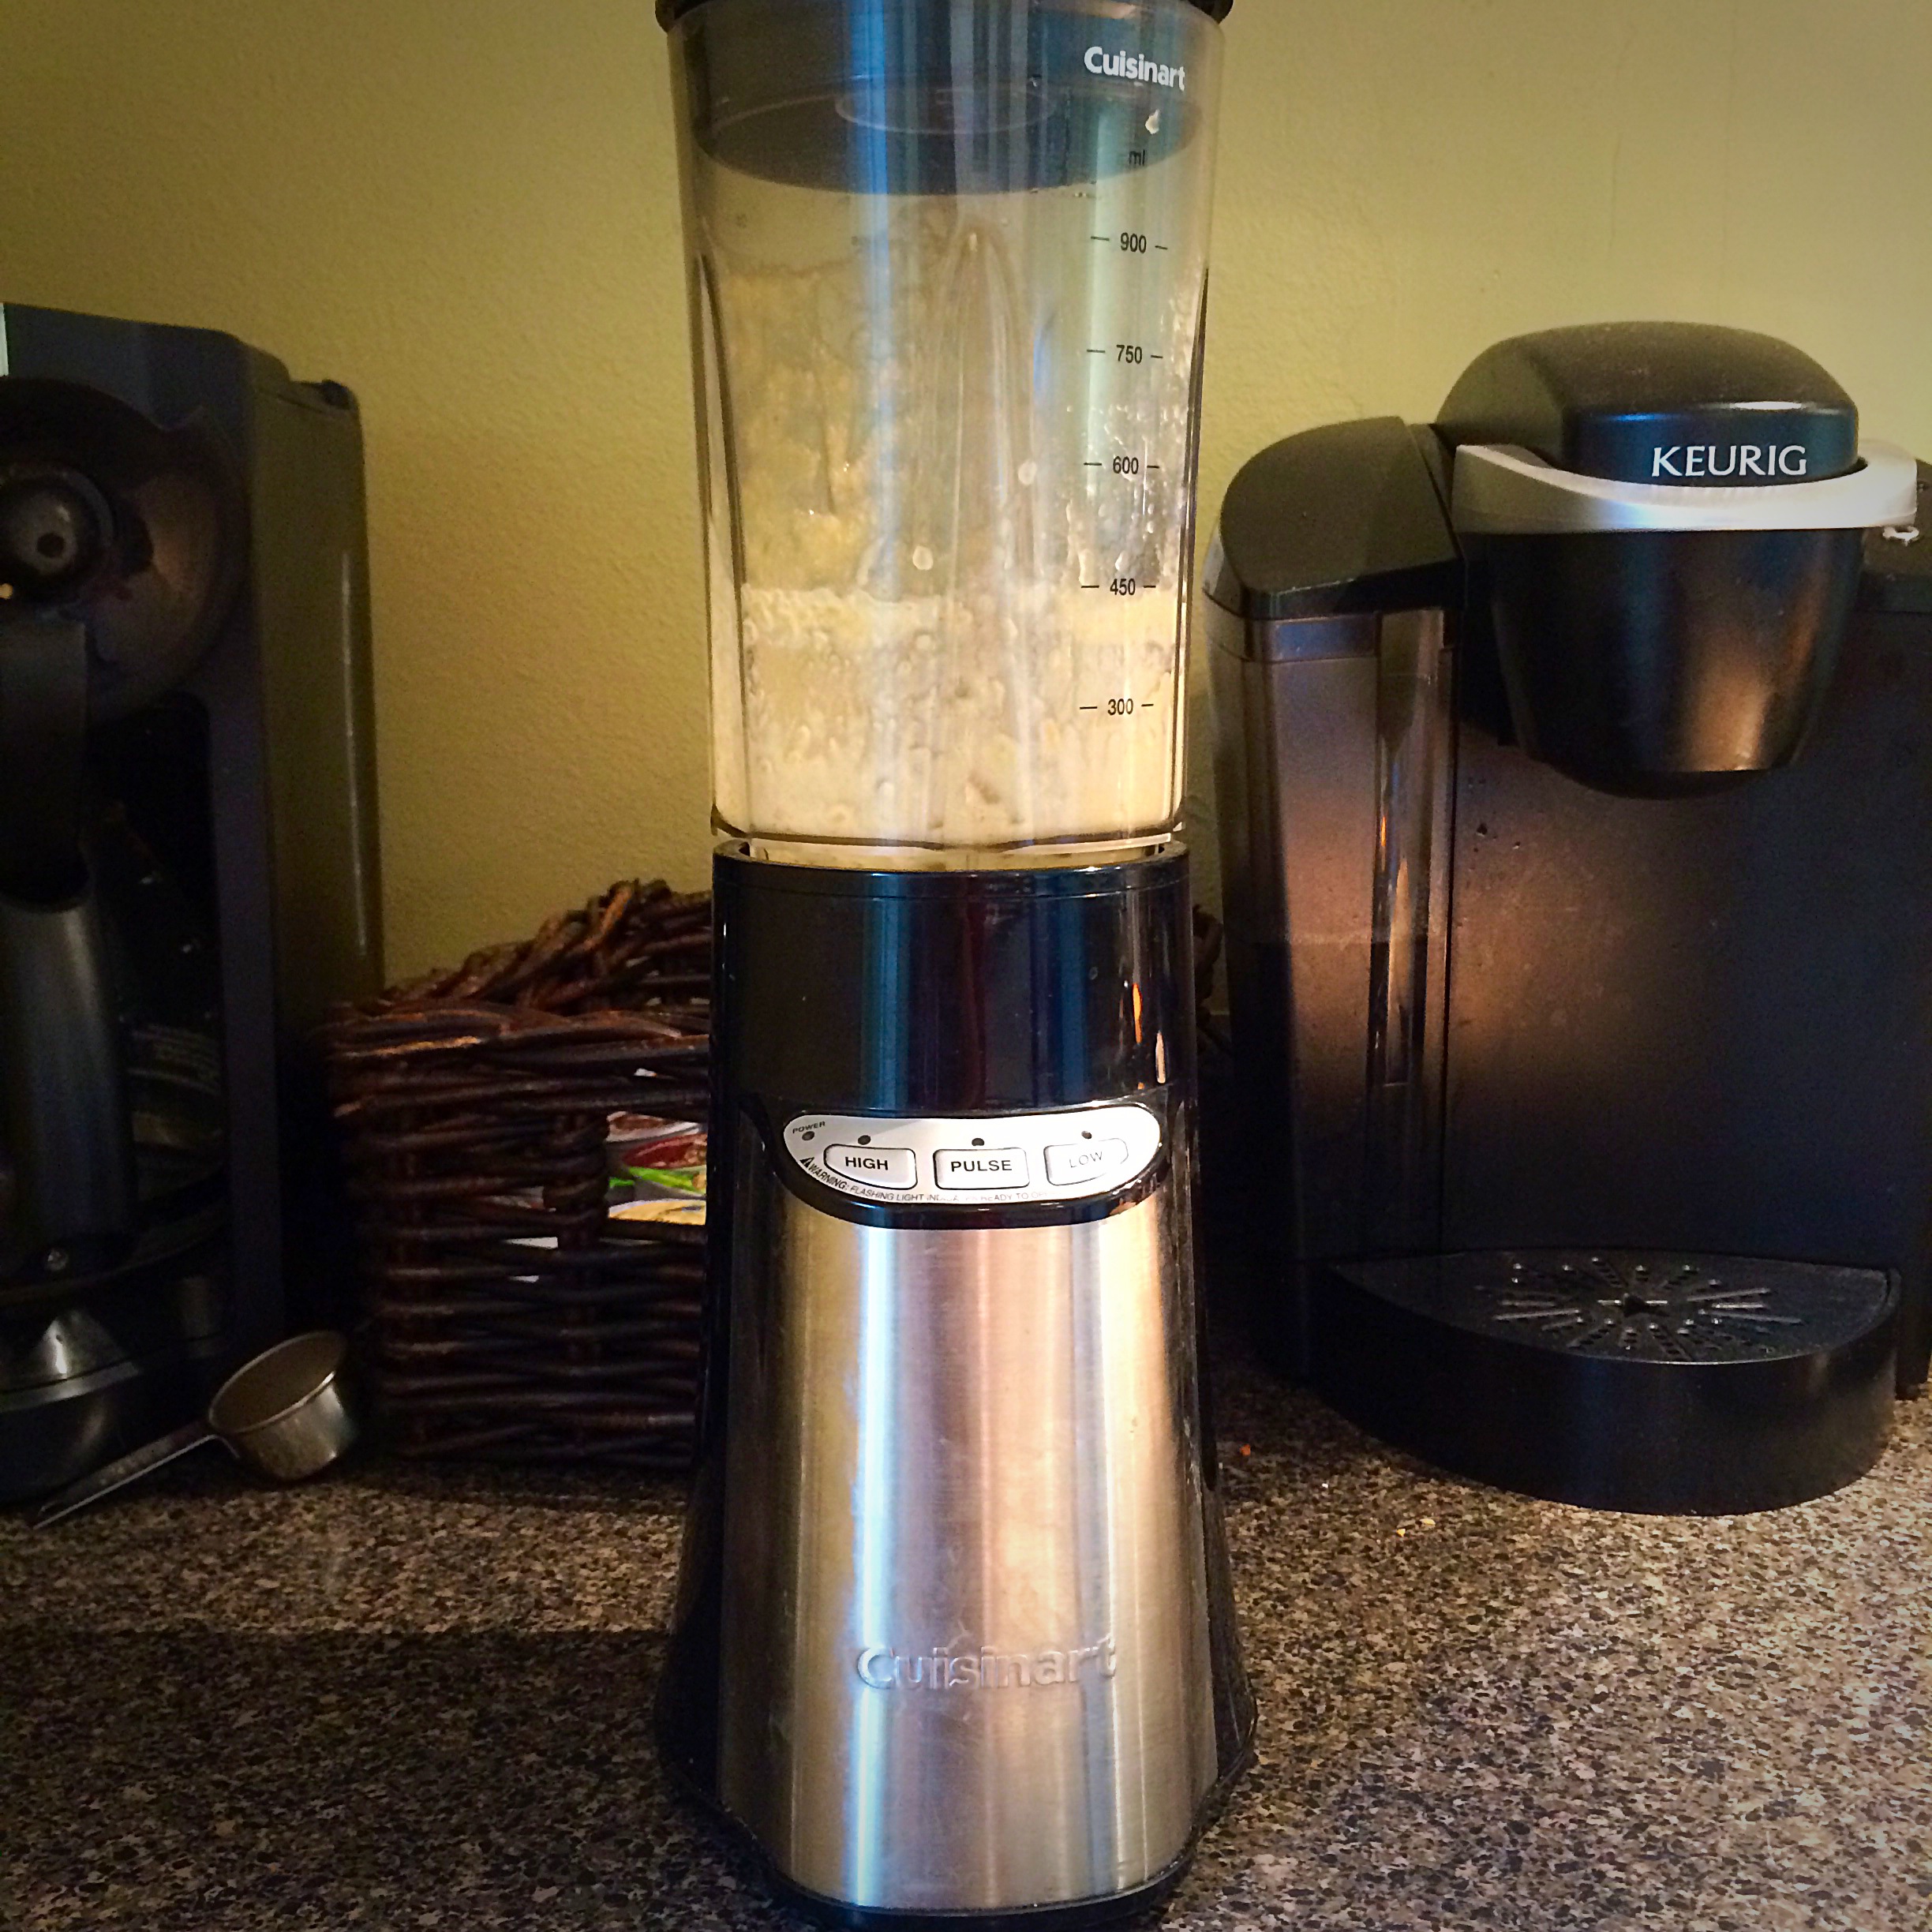
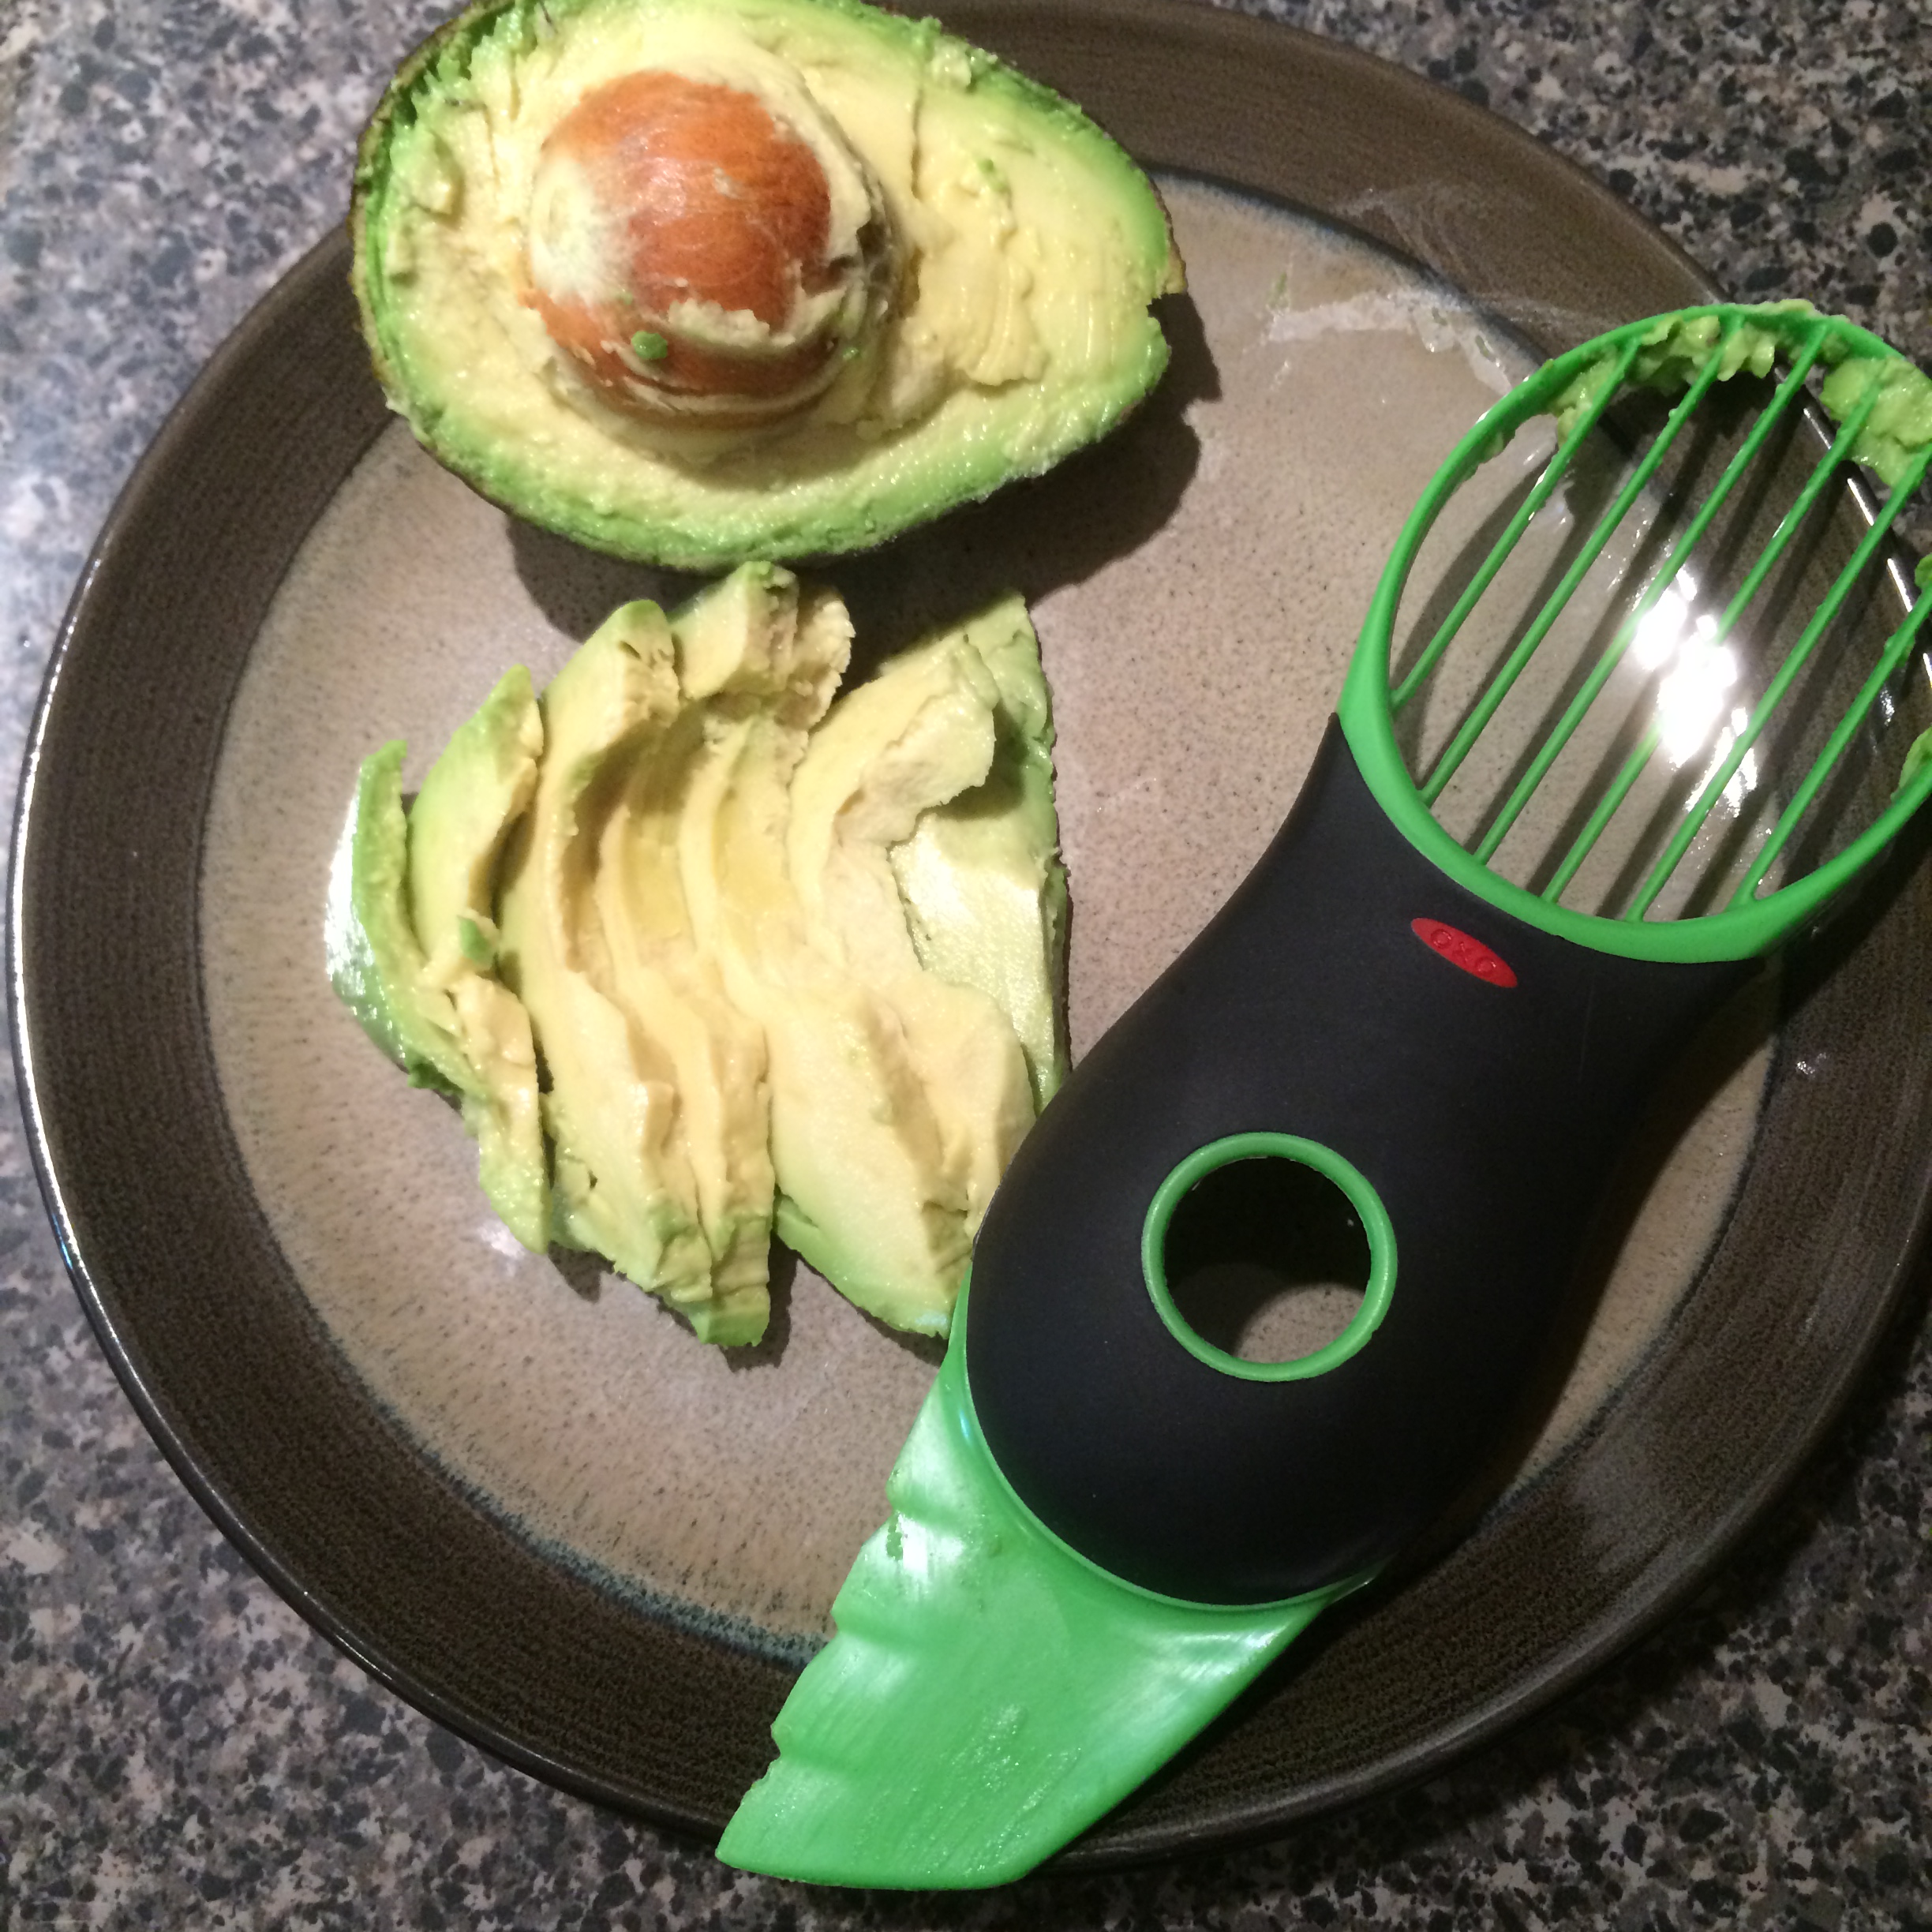
This coming spring marks 4 years since my story above began. That’s my journey and how I got to where I am today. I’m excited to continue down this path to be the version of me I can be, and am glad you’re here to join me through the DIY projects, a few cooking experiments, the adventures I seek out, and anything else to come.

Happy Blogging!
signature